
10 Mods to Improve Your Mechanical Keyboard
If you’re a keyboard enthusiast or just want to improve your typing skills, there are plenty of DIY mods you can try. These upgrades are a surefire way to improve the feel and look of your keyboard, while also giving you the ability to tailor it to your preferences.
Some of these mods require disassembly. Keep in mind that not all keyboards are designed to be disassembled easily, and attempting to do so may result in permanent damage.
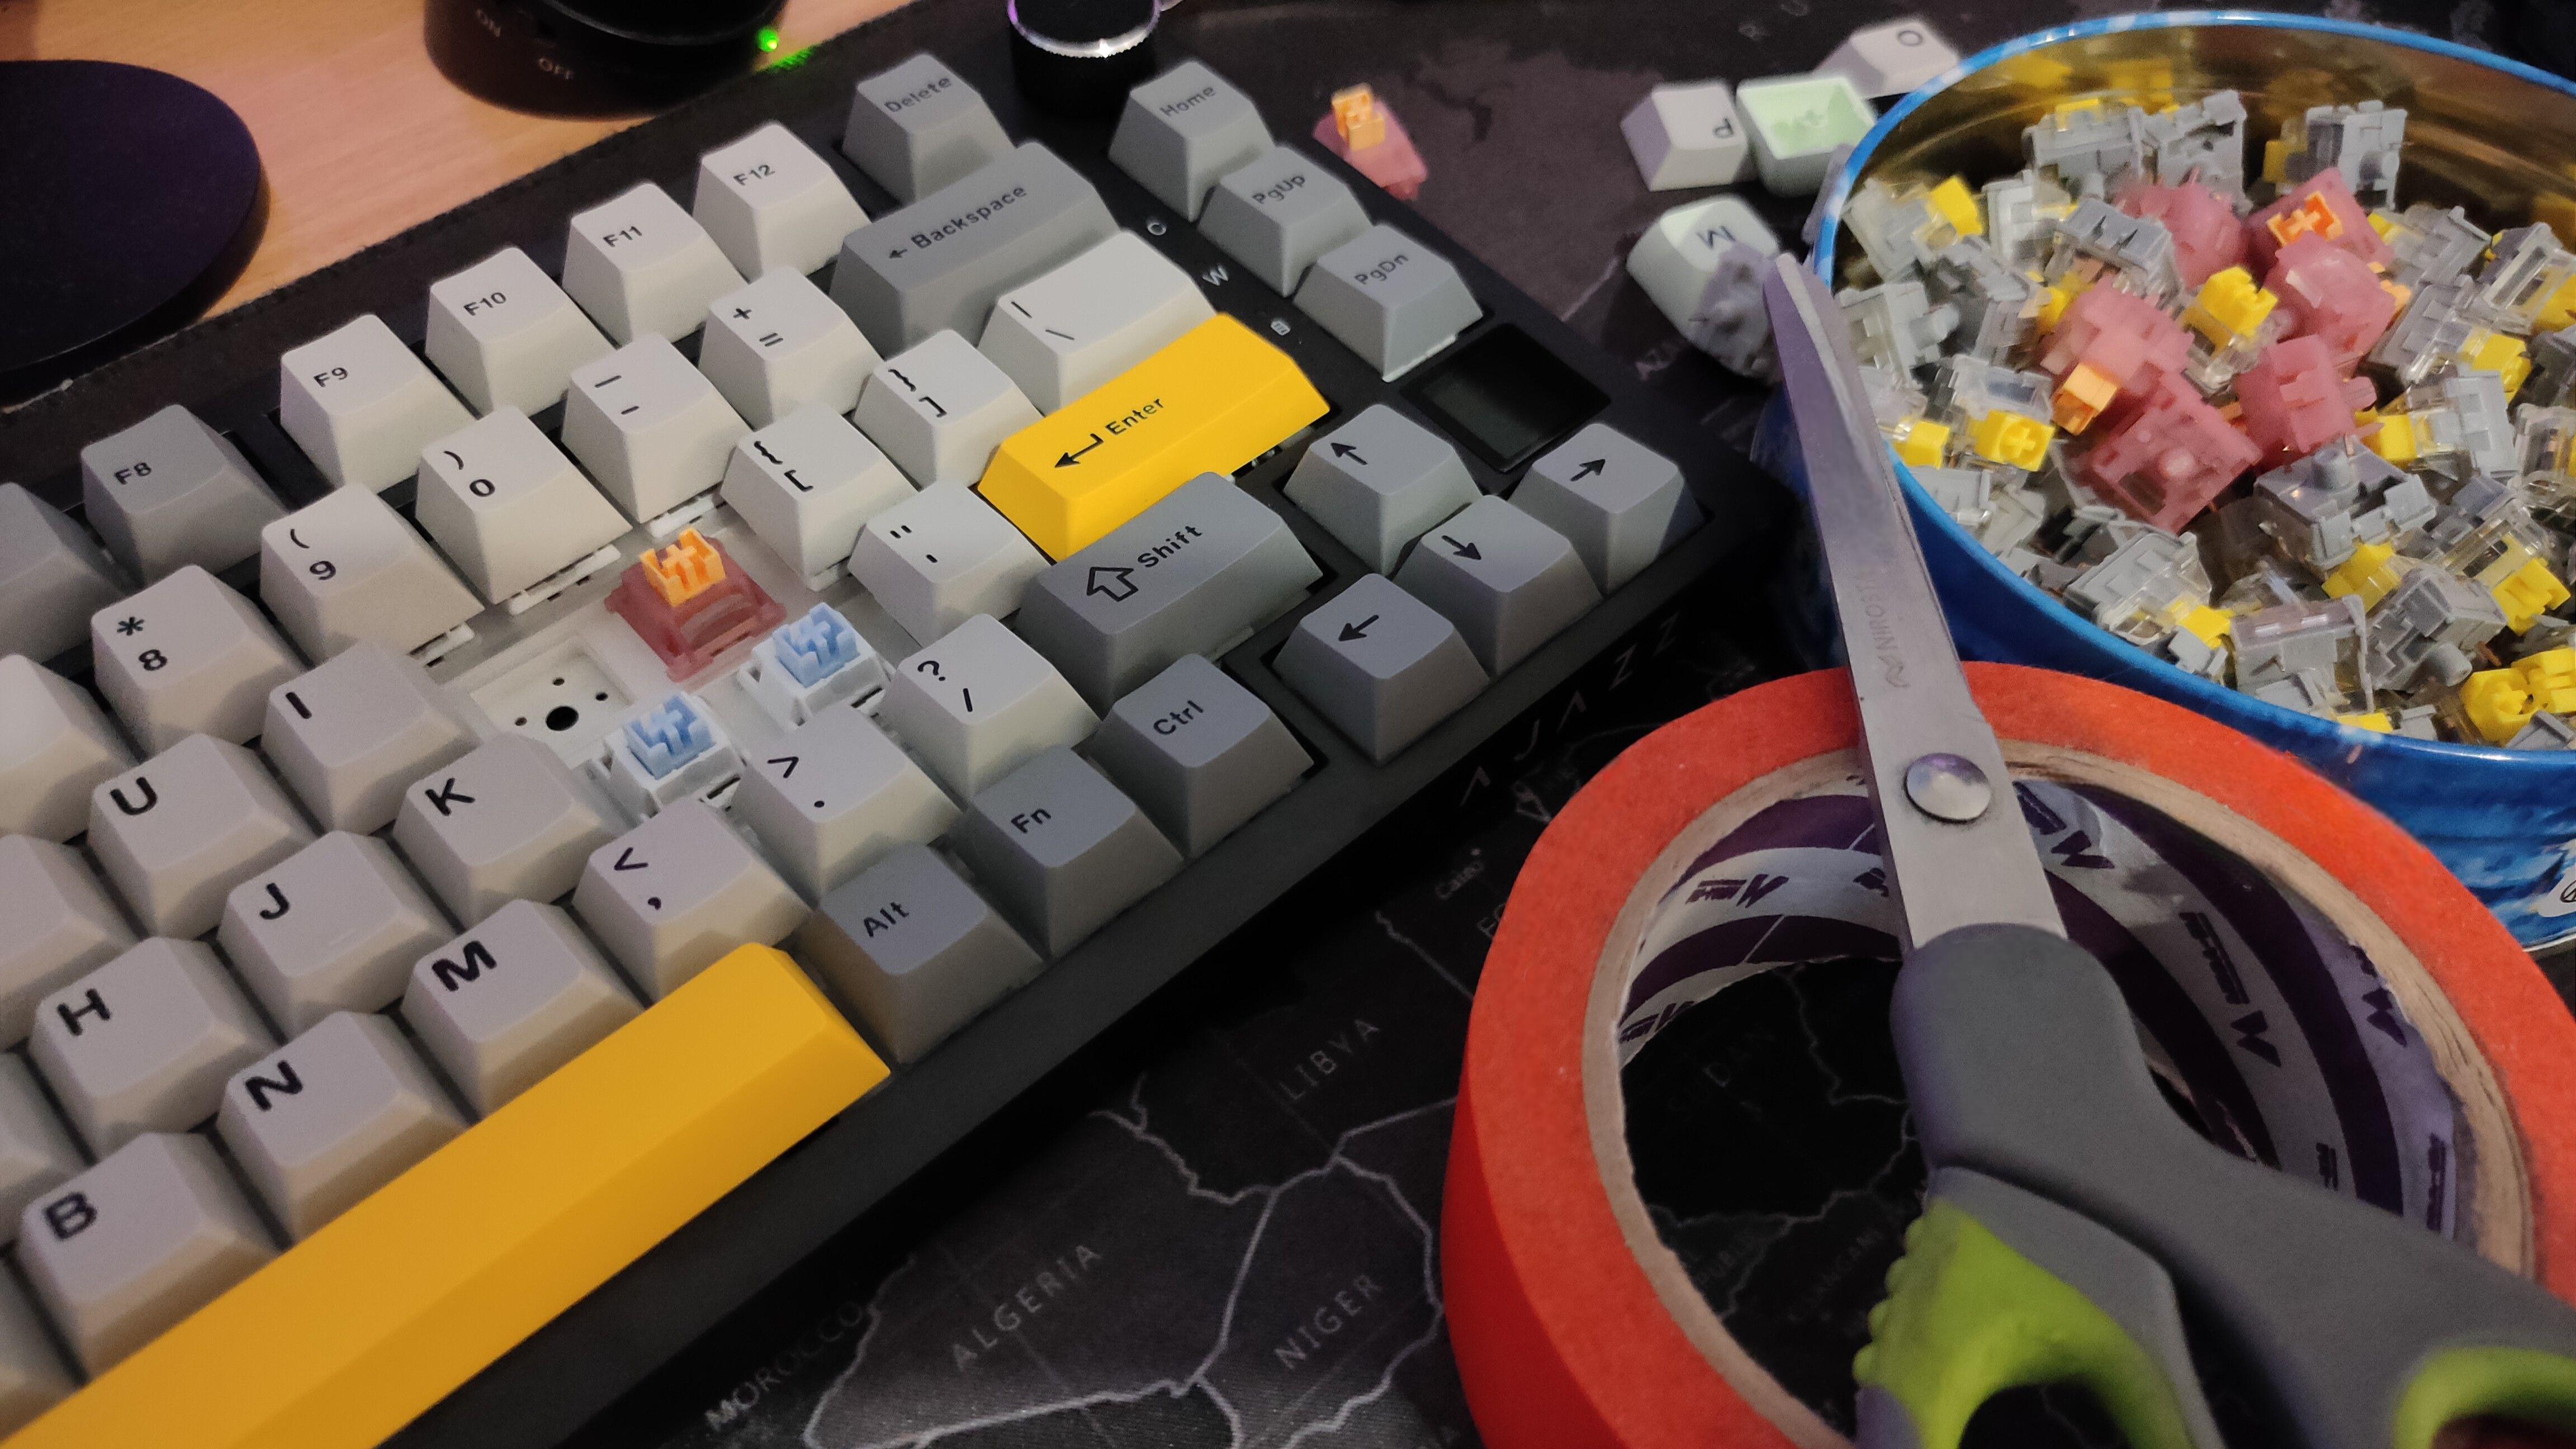
1 Lubricate your switches
Without a doubt, lubricating your switches is the single biggest improvement you can make. mechanical keyboard. The internal mechanism of the switches contains plastic parts (shaft and housing) that rub against each other, creating friction that causes a scratching sensation. Applying lube to these contact points minimizes friction, resulting in smoother, more satisfying shifts. As for what lubricant to use, Kraytox 205G0 one of my favorites.
Unfortunately, manually lubricating switches is a complex and time-consuming process that requires disassembling the entire switch. The good news is that you can purchase switches pre-lubricated at the factory, making upgrading much easier if you have hot swappable keyboard. It also gives you the opportunity to experiment with different switches to find your new favorite.
If your keyboard isn’t hot-swappable, you’re out of luck as you may still get the switches greased to some extent. Take a thin brush, press down on the stem and apply a thin layer of lubricant to the sides of the inside of the case, then tap the key a few times. Repeat this for all switches. Be conservative as using too much lube may cause the switch to not work. I used this trick on my old Corsair K70 and it made the notoriously scratchy Cherry MX Browns much smoother.
2 Update your caps
Want your keyboard to look and perform better with just one update? Replace the keycaps. There are a wide variety of key styles to choose from, from light pastel colors to pudding keycaps with RGB lighting. Material also plays a big role, as keycaps can have vastly different textures, affecting the typing feel.
Your choice will likely come down to ABS or PBT keycaps, with PBT being the preferred option for most enthusiasts due to its durability and ability to maintain a matte finish even after years of use. Finally, some keycaps have different key profiles (shapes), which significantly affect the overall ergonomics. As with switches, try a few different sets of keys until you find your favorite.
3 Modify your stabilizers
If you’ve ever removed the space bar, you’ve probably noticed these plastic pieces underneath the key. These are stabilizers and are used on larger keys to prevent wobble and provide an even feel throughout the key.
Many keyboards suffer from stabilizer problems, such as poor stabilization and an audible squeaking sound when pressing the keys. You can instantly improve stabilizers by simply injecting large amounts dielectric grease directly into the plastic case.
For a more complex solution, you can adjust the stabilizers, attach the tiny legs under the body, and try a band-aid mod, although this will require labor-intensive disassembly. Alternatively, upgrade your stabilizers to something better, like this one. Stabilizers DUROCK V3.
4 Improve the spacebar
The spacebar is the largest and one of the most frequently used keys, so it deserves some extra tender and loving care. While lubricating and tuning your strokes will do wonders for the way the spacebar sounds, you can still take it a step further by adding some spacebar foam or a few layers of masking tape under the switch. This mod mutes the empty sound, making pressing the spacebar more pleasant.
You can buy ready-made Foam space; just make sure it matches the length of your key. If you decide to do it yourself, take a sheet of Poron foam, Kilmat or masking tape and apply several layers under the keycaps until you are happy with the sound. For additional damping, add foam to the keyboard body itself.
5 Take a coiled cable
Enough about sound and feel; let’s talk about aesthetics. Stylish Coiled USB-C cable with an aviator connector will instantly add a premium feel to your setup. While it doesn’t offer any functional benefits over a regular detachable USB-C cable, it does give you an easy way to customize your keyboard. That’s why coiled cables are a mod designed for the most dedicated keyboard enthusiasts.
6 Try the Feed mod
Tempest Tape Mod is the Easy Way make the keyboard thicker without spending real money. This involves adding one or more layers masking tape to the back of yours keyboard circuit board. This mod makes your keyboard sound deeper by reducing the harshness of your keystrokes. As an added bonus, the added material increases rigidity slightly, improving overall typing stability.
7 Add some sound-absorbing materials
In addition to the ribbon module, there are a few other things you can do while you’re there to further improve the sound and feel. This usually involves inserting layers of foam and other noise-absorbing materials into the keyboard body. Popular materials include polyethylene foam, Poron foam, Kilmat and polyfill. Personally, I used polyfil because I had an old stuffed animal that I could gut.
For easier noise reduction solutiontry rubber o-rings under the keycaps. On the other hand, you can try a more complex sound absorption option – create a silicone damper yourself. However, this is a time-consuming process that does not always lead to significant improvement, so I recommend sticking with foam.
8 Try different keyboard software
Many keyboards on the market have crappy software that lacks customization options. Chinese brands are especially bad in this regard. Fortunately, there is a simple solution in the form BY USING. This is a third party app that supports a wide range of keyboards. You can use it to create macros, adjust lighting, change the functions of each individual key, and much more. If your keyboard doesn’t support VIA, try bottle or KMC.
9 Make a Press ‘N Seal mod
Think of the Press ‘N Seal mod as a 2.0 feed mod created by YouTuber Hipyo Tech. According to those who have tried it, the mod makes your keys crisper and crisper. However, this is a time-consuming process that is not suitable for all keyboard models. The mod also makes it much more difficult to remove switches later. Weigh your options carefully before trying this particular mod.
10 For aluminum keyboards, try the Force Break mod.
The Force Break mod has a big name, so you might be surprised how simple it really is. The mod involves disassembling the aluminum keyboard and adding a small piece of thin foam or tape at the metal-to-metal contact points to reduce ping. I don’t mean delay; that’s the high-pitched, reverberating metallic sound that some aluminum keyboards make when you type. The best place to add material is near the support screws as this is where most of the pressure occurs.
Thanks to the wonderful keyboard community, we now have a variety of DIY mods we can make to improve the sound, look, and feel of our keyboards, often without spending any money. Try the mods that seem most interesting to you, and don’t forget to have fun in the process!
2025-01-09 18:00:14