
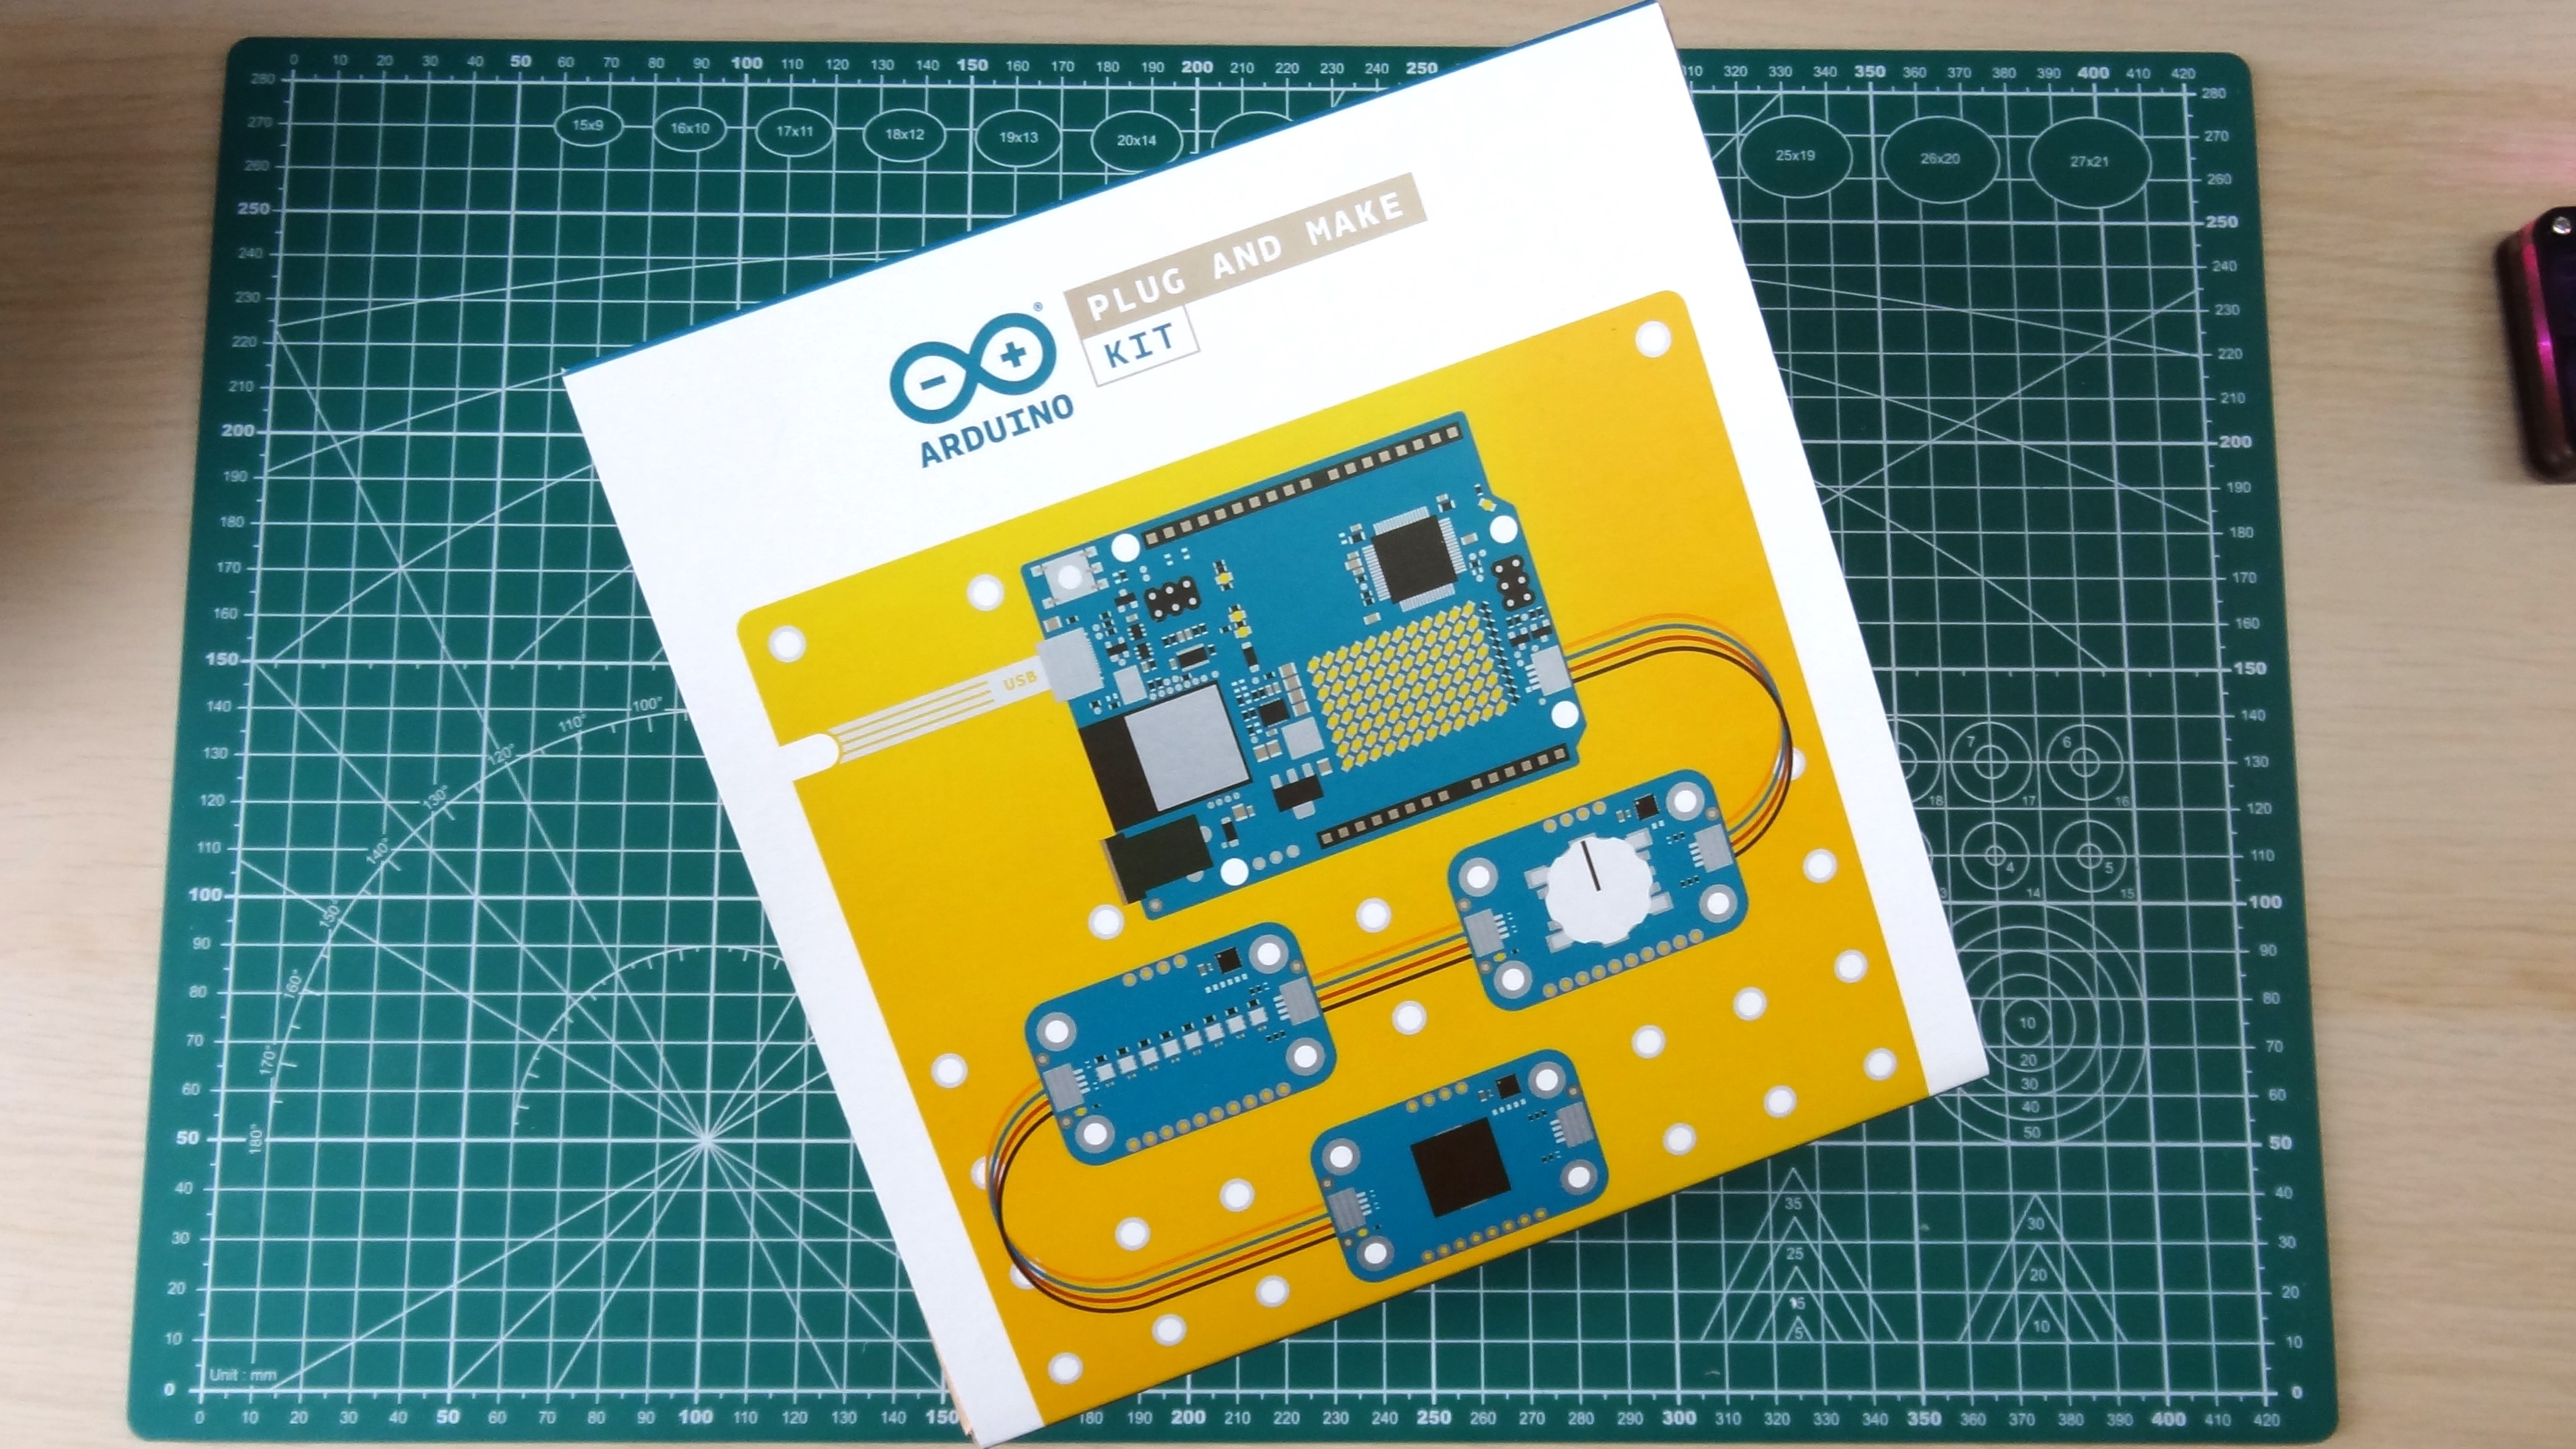
For many of us (including me), our gateway to the world of making is through the Arduino. It may not have megabytes of memory and gigabytes of storage, but it does have GPIO pins that we can control using program code. The Arduino Uno is still a powerful machine for imagination and experimentation, but what if you’re new to electronics? Well, you’ll need a kit, and the $78 Arduino Plug and Make Kit makes getting started even easier thanks to a series of great tutorials, as well as a series of “Modulino” plug-ins that simply connect to each other.
Is an Arduino plug-and-play kit right for you? What can we do with it, and more importantly, is it worth our money? let’s see.
Arduino Plug and Play Kit Technical Specifications
| microcontroller | Renesas RA4M1 (Arm Cortex-M4, running at 48 MHz) |
| Wifi | ESP32-S3 operates at up to 240 MHz, 384KB ROM, 512KB SRAM |
| memory | 32KB |
| storage | 256KB flash memory |
| universal input and output interface | 14 digital IO, 6 PWM, 6 analog, DAC |
| Row 5 – Cell 0 | 2 I2C, SPI, CAN, UART |
| Row 6 – Cell 0 | 12 x 8 LED matrix |
| USB | USB C |
| strength | 6-24V input voltage |
| Line 9 – Cell 0 | 5V working voltage, 8mA for each GPIO pin. |
| aspect | 68.85×53.34mm |
| Modulina | Modulino knobs, pixels, distance, motion, buzzer, thermistor and buttons |
| Line 12 – Cell 0 | Modulino base (140 x 140mm) |
| cable | USB C for Arduino Uno, 7 x Qwiic connectors |
| machine parts | Various screws and nuts used to mechanically attach the kit to the Modulino base |
Assembling the Arduino plug and making kit
This rather cute box has everything we need to get started. this Arduino Uno R4 WiFi The board is the heart of the kit, but the “Modulino” board is the star. Each board is basically a Stemma QT / Qwiic add-on board for RGB LEDs, distance and temperature sensors, rotary encoders, buzzers and buttons. It’s almost impossible to insert them incorrectly, which makes them ideal for learners
- Modulino knob: for ultra-fine value adjustments
- Modulino Pixels: Eight LEDs that can brighten, dim or change color – the choice is yours!
- Modulino Distance: time-of-flight proximity sensor for precise distance measurement
- Modulino Motion: perfectly captures movements such as pitch, roll or tilt
- Modulino Buzzer: generate your own alarm sounds or simple tunes
- Modulino Thermo: temperature and humidity data sensor
- Modulino Buttons: Three buttons for quick project navigation
All Modulinos are standard electronic components that have been made into modules and use the I2C protocol to communicate with the Arduino. This means we can daisy chain the modules using the included wires.
The Arduino Uno R4 introduces the Qwiic connector to the Uno family, and it’s great to see it used so effectively in this kit. We can build the Modulino board on our desk or in a project enclosure, but Arduino also provides a 140 x 140mm board on which we can build the project. The board is made of PCB material and is essentially a large PCB, but it does not become part of the circuit. Instead, it provides a mechanical method of connecting the Modulino and Arduino boards using the provided screws and nuts. This is a great way to protect and display items, it reminds me of display stands used at events.
Once you’re done with your project, it all goes back in the box, yes, even if it’s already assembled. So the next time you build a project, you can take it out of the box and start using it.
Using the Arduino Plug and Play Kit
The Arduino Plug and Make kit provides a complete set of tutorials for using Arduino Cloud, an online IDE where we can create projects called “things” that are a hybrid of web dashboards and Arduino code “sketches” .
You don’t need to know anything about Arduino Cloud to use this kit. Please follow the Getting Started example and use the provided template to create a web interface (dashboard) for your first Thing. The dashboard will suggest combinations of Modulino boards to create sample projects. Adding Modulino buttons and RGB LEDs will create a simple race game where players must press buttons to get to the other side of the track before their opponents. Using the temperature modulus the temperature and humidity will be obtained and then displayed on the Arduino Uno R4’s 12 x 8 LED matrix.
Let’s review, how does this Arduino Uno R4 WiFi communicate with our web application? Arduino has thought of this, and part of the installation process is to pair the Arduino and Cloud IDE together so that they can communicate using the Uno’s onboard ESP32.
With the starter project complete, Arduino has a series of support projects that we can use to master the kit. I tested the gesture-controlled lights and 8-bit synthesizer. The tutorials were easy to follow, and the author explained the background, purpose, and goals of each section we completed. Once you’re confident with the kit, you’re free to make your own “stuff” using the Modulino board.
Keep in mind that the free tier of Arduino Cloud has limits on the resources you can use, so you may need to pay for the next tier, or delete some old project files. The free tier is getting better and better over time, and I can understand why Arduino puts limits on the free tier, but I still prefer using an offline editor for coding. While I could easily do this, the problem is that it defeats the purpose of the kit. You see, creating things and dashboards is part of the appeal of this kit, and an offline IDE can’t do that to the same standard as Arduino Cloud.
If you buy this kit, most of the target audience will be new to Arduino, perhaps switching from a Raspberry Pi. You’ll be ready to follow the Arduino Cloud process, and probably eager to invest some cash in the paid tiers. For this old Arduino hacker, I use the Arduino Cloud when needed, I still prefer using the offline IDE, which has come a long way in recent years.
Who are Arduino plug and play kits for?
Educators, learners, enthusiasts, you are the audience for this kit. If you’re an experienced Arduino user, there’s not much to see here. Of course, for experienced builders, Modulino boards are interesting, but you probably already have a lot of boards and sensors.
bottom line
I love this kit; it provides everything a beginner needs to take their first steps with Arduino. The price of the kit is right. The Arduino Uno R4 WiFi itself costs $27, so we’ll pay the difference in price for the Modulino board, tutorial, and supporting hardware.
The Modulino board is great and provides a quick and easy workflow for using sensors and add-ons with the Arduino. The Modulino standard is basically Qwiic/StemmaQT, which means we can buy tons of add-ons to create more projects. However, your situation may be different, as the Qwiic connector of the Arduino Uno R4 introduces the issue of wire libraries for I2C communication. Some libraries are available for other Stemma QT or Qwiic boards, so please read this before purchasing.
Arduino Cloud is a lot of fun, and the free tier should be enough for all but the most serious users. It’s not a perfect product and I found the Arduino Cloud workflow a bit cumbersome, but once you get into the flow you’ll do pretty well. Education users will love this kit and may add it to their classrooms.