Why automate your tasks?
Hello everyone👋! As an application developer, I’m excited to share with you how to create simple yet powerful agents to automate everyday tasks.
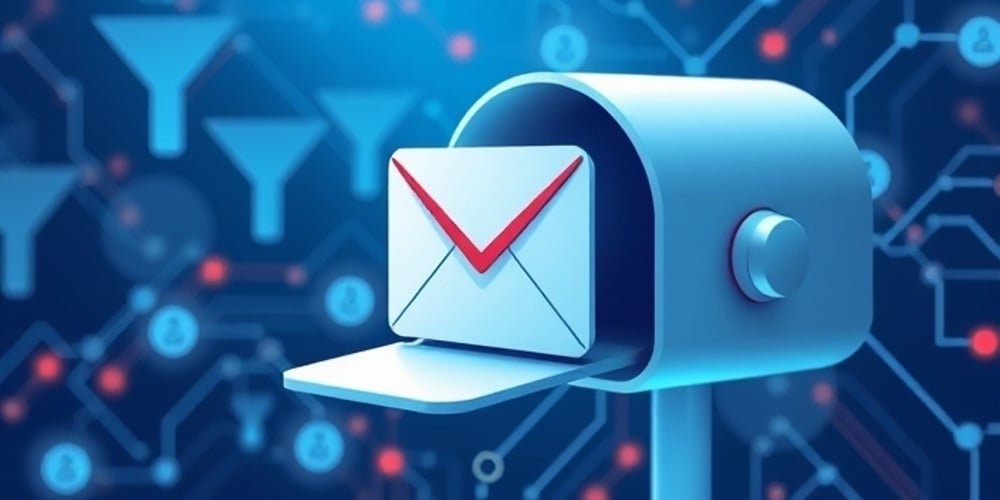
📬 Like many of you, I receive tons of emails every day. Despite my best efforts, I achieved the elusive goal Clear inbox Still a challenge. Sorting through emails like order confirmations and shipping updates is tedious and time-consuming.
But here’s the good news: Automation can save the day!
🤖 I’ve written a basic script that uses AI to help automate email classification, and you can too.
In this article, I’ll share reusable code snippets to help you build an automated agent that suits your needs. 🚀
The beauty of automation
There are countless tools, including no-code platforms, that can handle the entire process for you. However, I prefer to break down the task into Modular code snippets. Why?
- flexibility: Modular code can easily adapt to changing needs.
- reusability: Write once, use forever.
- maintainability: Small, independent blocks of code are easier to debug and improve.
by taking incremental approachyou can gradually replace manual steps with automated steps.
👩💻 My go-to tool for prototyping scripts is Notes—Notebooks with instant coding and artificial intelligence that help me track and enhance my workflow. Give it a try, or use your favorite IDE!
Let’s build an email automation agent
Target
When a new email arrives, we want:
- read email and extract relevant information.
- Use the LL.M. Determine its category from a predefined list.
- Create a Gmail label (if they don’t already exist).
- Update email labels to reflect the specified category.
getting Started
Prerequisites
Step 1: Enable Gmail API
- Go to Google Cloud Console and enable Gmail API.
- Set up OAuth credentials for desktop applications. follow these steps Download your
google-credentials.jsonfile and place it in your project directory.
Step 2: Install Ollama
download become Running a local LL.M. After installation, download the model:
ollama pull mistral
Step 3: Install dependencies
Install the required Node.js libraries:
npm install -S @google-cloud/local-auth googleapis openai
Write code
1. Authenticate using Google API
Set up an OAuth connection with Gmail:
// google-api.js
const fs = require("fs");
const path = require("path");
const { authenticate } = require("@google-cloud/local-auth");
const { google } = require("googleapis");

class GoogleAPI {
  constructor(credentialFilename) {
    this.TOKEN_PATH = path.join(__dirname, `token-${credentialFilename}`);
    this.CREDENTIALS_PATH = path.join(__dirname, credentialFilename);
    this.SCOPES = [
      "https://mail.google.com/",
      "https://www.googleapis.com/auth/gmail.modify",
    ];
  }

  async authorize() {
    const loadSavedCredentials = () => {
      try {
        const content = fs.readFileSync(this.TOKEN_PATH);
        return google.auth.fromJSON(JSON.parse(content));
      } catch {
        return null;
      }
    };

    const saveCredentials = (client) => {
      const keys = JSON.parse(fs.readFileSync(this.CREDENTIALS_PATH));
      fs.writeFileSync(
        this.TOKEN_PATH,
        JSON.stringify({
          type: "authorized_user",
          client_id: keys.installed.client_id,
          client_secret: keys.installed.client_secret,
          refresh_token: client.credentials.refresh_token,
        })
      );
    };

    let client = await loadSavedCredentials();
    if (!client) {
      client = await authenticate({
        scopes: this.SCOPES,
        keyfilePath: this.CREDENTIALS_PATH,
      });
      if (client.credentials) saveCredentials(client);
    }
    return client;
  }
}

module.exports = GoogleAPI;
2. Create a Gmail label
Use this function to build a tag and retrieve its ID:
async function createAndGetLabels(labelsToCreate) {
  const google = await getGoogleClient();
  const gmail = google.gmail({ version: "v1" });

  const existingLabels = (await gmail.users.labels.list({ userId: "me" })).data.labels || [];

  const labelsMap = new Map();
  for (const label of labelsToCreate) {
    const existing = existingLabels.find((l) => l.name === label);
    if (existing) {
      labelsMap.set(label, existing.id);
    } else {
      const res = await gmail.users.labels.create({
        userId: "me",
        requestBody: { name: label },
      });
      labelsMap.set(label, res.data.id);
    }
  }
  return labelsMap;
}
3. Read emails
Extract details from the messaging api:
async function readEmails(gmail, maxResults = 10) {
  const res = await gmail.users.messages.list({ userId: "me", labelIds: ["INBOX"], maxResults });
  return Promise.all(
    res.data.messages.map(async ({ id }) => {
      const email = await gmail.users.messages.get({ userId: "me", id });
      return email.data;
    })
  );
}
4. Decrypt relevant messages
Extract meaningful details from emails:
function extractMailInfos(mail) {
  // Define the headers to extract
  const relevantHeaders = ["Date", "Subject"];

  // Extract and structure the relevant headers
  const headers = mail.payload.headers
    .filter(header => relevantHeaders.includes(header.name))
    .reduce((accumulator, header) => {
      accumulator[header.name] = header.value;
      return accumulator;
    }, {});

  // Add the unique mail ID directly to the headers object
  headers.id = mail.id;

  return headers;
}
5. Classification using LL.M.
Integrate Ollama or OpenAI to classify emails:
async function classifyEmail(prompt) {
  const { OpenAI } = require("openai");
  const openai = new OpenAI({ baseURL: "http://127.0.0.1:11434/v1", apiKey: "not-needed" });

  const response = await openai.chat.completions.create({
    model: "mistral",
    temperature: 0.3,
    messages: [{ role: "user", content: prompt }],
  });

  return response.choices[0].message.content.trim();
}
put them together
Here’s how everything works together:
const labelsToCreate = ["Order", "Shipping", "Newsletter", "Other"];
const labelsMap = await createAndGetLabels(labelsToCreate);

const promptSystem = `
Your role is to determine the category of the emails by choosing from the categories listed below.

Here are the possible categories:
- Order
- Shipping
- Newsletter
- Other

You must return in response the name of the category without further explanation and without quotation marks.
`

const rawEmails = await readEmails(gmail);
const emails = rawEmails.map(m => extractMailInfos(m));
for (const email of emails) {

  const prompt = `${promptSystem}
    Categorize this email: ${email.Subject}`;

  const category = await classifyEmail(prompt);

  if (labelsMap.has(category)) {
    await gmail.users.messages.modify({
      userId: "me",
      id: email.id,
      requestBody: {
        addLabelIds: [labelsMap.get(category)],
        //removeLabelIds: ["INBOX"],
      },
    });
  }
}
🎉 That’s it! Your inbox is now smarter and more organized.
go further
But why stop here? Explore more advanced examples for everything you need to read email content, send drafts, and build fully automated responses.
For more automation ideas and reusable scripts, check out Notes.
Let us turn your daily tasks into something fun and productive! 🌈