How To Use & Change Your Avatar
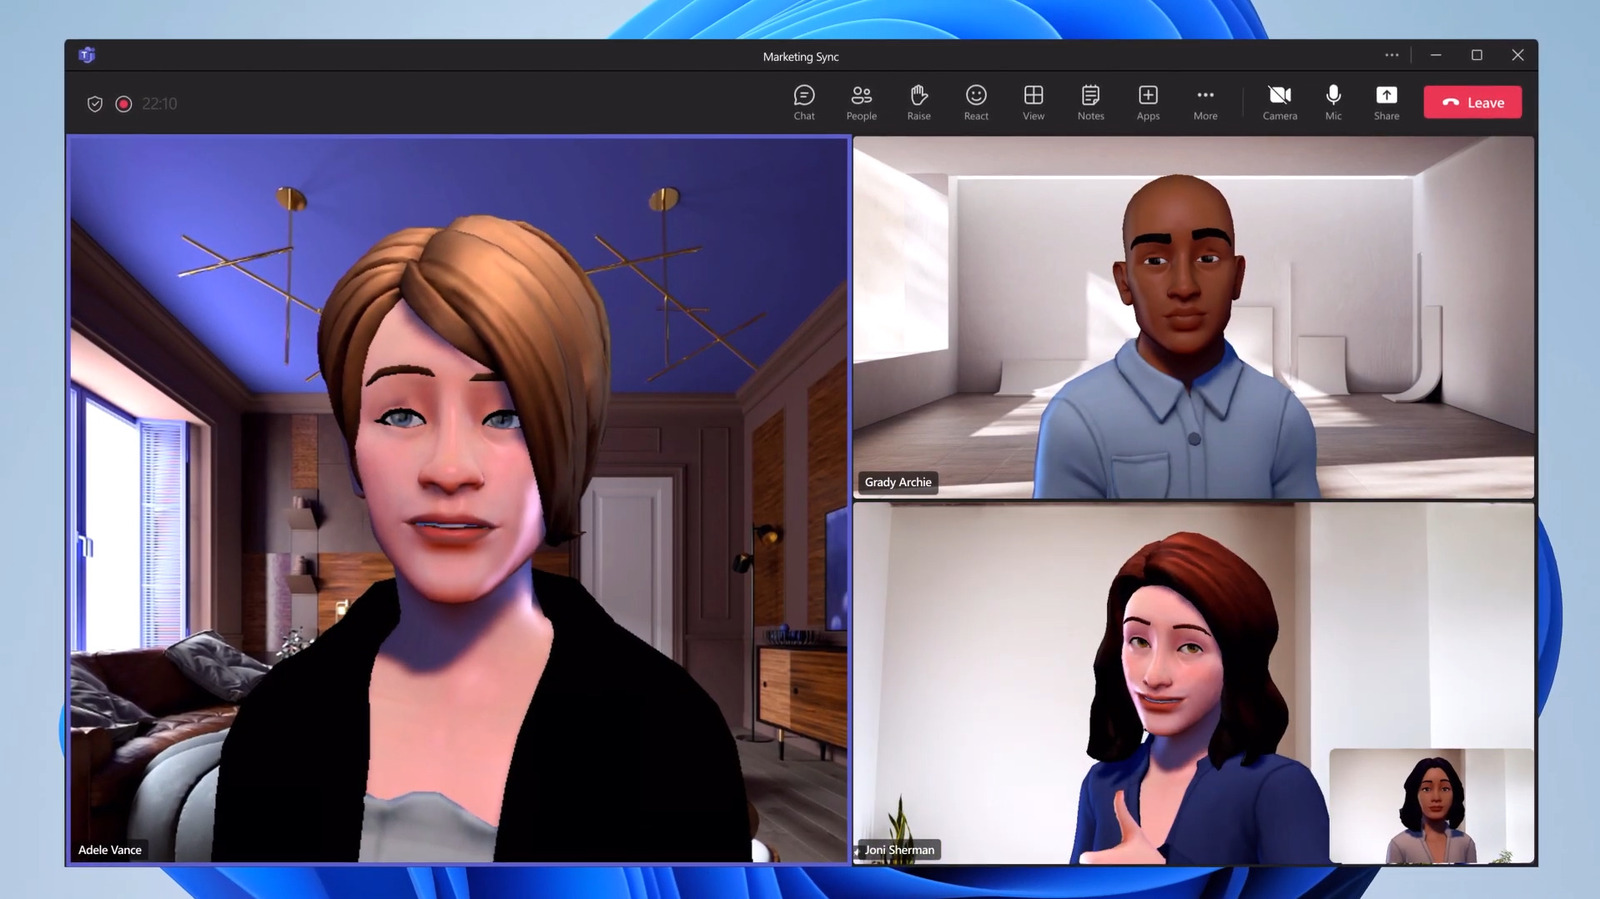
One of the key features of Microsoft Teams lies in its ability to hold meetings and discussions in real time, keeping teams in different locations connected. While video calls are essential for effective communication, there are times when turning on the camera may not be the right solution—due to video fatigue, personal preference, or privacy concerns. In these cases, the ability to turn off video can sometimes interfere with the interaction. This is where Microsoft Teams’ avatar feature comes in, offering a fantastic alternative to binary options to turn videos on or off.
Advertising
With avatars, you can stay present during meetings without having to appear on camera. These personalized digital images move, react and react just like they would in real life. This feature helps maintain high levels of engagement while providing comfort and privacy.
In this article, we’ll show you how to create and customize an avatar in Microsoft Teams. Whether you want to improve the quality of your meetings, express your personality, or simply feel comfortable, we can help you put your best face forward virtually.
How to create your own avatar in Microsoft Teams
To use your avatar in a Microsoft Teams meeting, you first need to install the Avatars app and create an avatar. Here’s how you can do it.
- Open the Microsoft Teams app on your PC or Mac.
- Click “Applications” in the left sidebar.
- Find avatars and click the “Add” button. If you don’t find avatars in the Applications section, select the More Applications option and search again.
- Open the Avatars app and click the Get Started button.
- Browse through the available options and choose a basic avatar that you like.
- Click the “Use Avatar” button to use it.
Microsoft Teams allows you to create up to three different avatars. To add more, open the Avatars app and click the plus icon on the right side of the interface. You can start with a new base avatar or select the Create from Photo option to upload an existing image or make a new one. using a webcam. Microsoft Teams will then analyze the photo and suggest an avatar that closely resembles your facial features. Once you create your avatars, you can easily customize them at any time to reflect your personality or mood.
Advertising
How to customize your avatar in Microsoft Teams
Microsoft Teams offers many options to personalize your avatar to truly reflect your personality. With just a few clicks, you can customize details such as skin tone, body type, hairstyle, wardrobe, and even makeup, creating a unique virtual representation of yourself. Here’s how:
Advertising
- In Microsoft Teams, select Apps > Avatars.
- Select the avatar you want to change and click the Customize button.
- Use the Skin Tone option in the toolbar to choose your preferred tone. You can adjust the intensity using the slider for more precise control.
- Then select the Face category to customize facial features such as face shape, eyes, eyebrows, nose, mouth, ears, etc.
- In the Hair section, you can choose a hairstyle or facial hair and change the hair color using the color palette.
- Use the Makeup category to add eyeshadow, lash line, blush, and lipstick presets to give your makeup a flawless look.
- In the Body category, choose a body shape preset or explore options such as prosthetics. You can then use the options in the right window to refine the body shape to your liking.
- Open the Wardrobe tab, then select your wardrobe from the categories of underwear, outerwear, hats, and glasses.
- When customizing your avatar, you can undo or redo any changes using the arrows in the top right corner.
- If you are happy with the changes, select Finish setup.
Likewise, you can repeat these steps to set up additional avatars, allowing you to switch between different views at any time.
2025-01-10 15:15:15