The 1-Step Cake Frosting Tip Professional Bakers Swear By
:max_bytes(150000):strip_icc():format(jpeg)/232472-best-chocolate-frosting-ddmfs-hero-4x3-5efa881700fe4b3e85fe4a82d61ad706.jpg)
Although this is more like a clearly repeated piece of outerwear than baking, the baby is actually the key to freezing the cake with ease. Many professional baking methods are combined with a significant factor of intimidation from the degree of skills and the amount of practice necessary for their improvement, and not with baby.
This is because a tiny coat is nothing but Very The thin layer of glaze, which extends to the cake and allowed to install before applying the last layer of glaze. While technically you can apply a tiny layer to any shape of a cake intended for glaze, this method is most often (and most practically) applies to layer cakes.
What is the goal of crumbs? [H1]
Generally speaking, the main goal of crumbs is to prepare the ground for the use of a pure, professional glaze level. This is very similar to a layer of primer, which is used in preparation for painting the wall. In the context of the cake, this thin layer of the glaze “primer” reaches three important goals: containing loose crumbs, fixing moisture and creating a smooth surface.
Containing loose crumbs
Anyone who has ever made sincere efforts to build beautiful, from scrapers, only in order for the crumbs to quit the glaze, since it is applied (creating a disheveled appearance that does not justify the time and care that you have invested) this simple Safety measure. The crooked coat earned its namesake from the fact that it prevents free crumbs subject to separation from the surface of the cake from inclusion in the final layer of the outer glaze. In short, a tiny coat lights up the crumbs in place, making it difficult to pollution of the glaze that they actually see.
Castle in humidity
Free crumbs are not all that is kept in baby. After installing it, it also serves as a moisture seal, which will help prevent the drying of the cake in the coming days. While baby, of course, serves the interests of aesthetics, so it additionally acts as a valuable measure of quality assurance.
Creating a smooth surface
Finally, the application of the crumbs fills/covers any gaps between the layers of the cake and, as a rule, creates a clean, smooth canvas to which the last icing can be applied. In truth, you will not understand how much easier it is to freeze the layer of the pie, until the one who has a tiny coat is frozen.
Dotdash Meredith Food Studios
How to pat the cake
Now that you understand what it is and why it matters, use the following step -by -step instructions to easily apply a crumb coat.
Step 1: Prepare the layers
After you baked the layers of the cake in accordance with the instructions under the desired recipe, cool them fullyField (glaze and even A little Warm cakes are not compatible.) If you have time, you can transfer slightly cool layers of the cake to the freezer to cool faster.
As soon as the layers become cool, cut the upper and perimeter of each as necessary/desire to level and remove all excessively brown edges. Then use the dough to slightly clean the upper part and side sides of each layer, removing any free crumbs that you can reasonably before coating the crumb.
Step 2: Prepare icing
You use the same icing as for the entire cake for a crumb coat. Thus, when your layers are cooled, continue and mix your icing. If you are generally concerned that you do not have enough to work, remember that it will never hurt the recipe; In the end, more than sufficient icing is not a worst problem.
Step 3: Collect the layers
Before laying the layers, you will first want to choose a stand for a cake or a plate that you ultimately want to present a complete cake. To maintain a portion of glaze clean during the process, you can put on it from 3 to 5 lanes of overlapping parchment paper before putting the lower layer for the pie on top. (As soon as everything is said and done, you can carefully pull the strips from under the assembled pie to show a clean plate.)
As soon as you are ready for assembly, place the lower layer on a plate and distribute a uniform layer of glaze. For an 8- or 9-inch cake, you usually need from 3/4 cup to 1 cup of glaze between each layer. Place the next layer on top of the glaze and repeat the process for all the remaining layers of the cake.
Optional advice
If time allows, freely wrap the layers on the folded muffins with plastic film and put in the refrigerator for at least 30 minutes (and up to 2-3 hours). This cooling period is especially useful if you work in a warm environment, since it will strengthen your own layer of the pie, preventing the displacement of layers when you continue to freeze your appearance.
Step 4: Apply crumbs
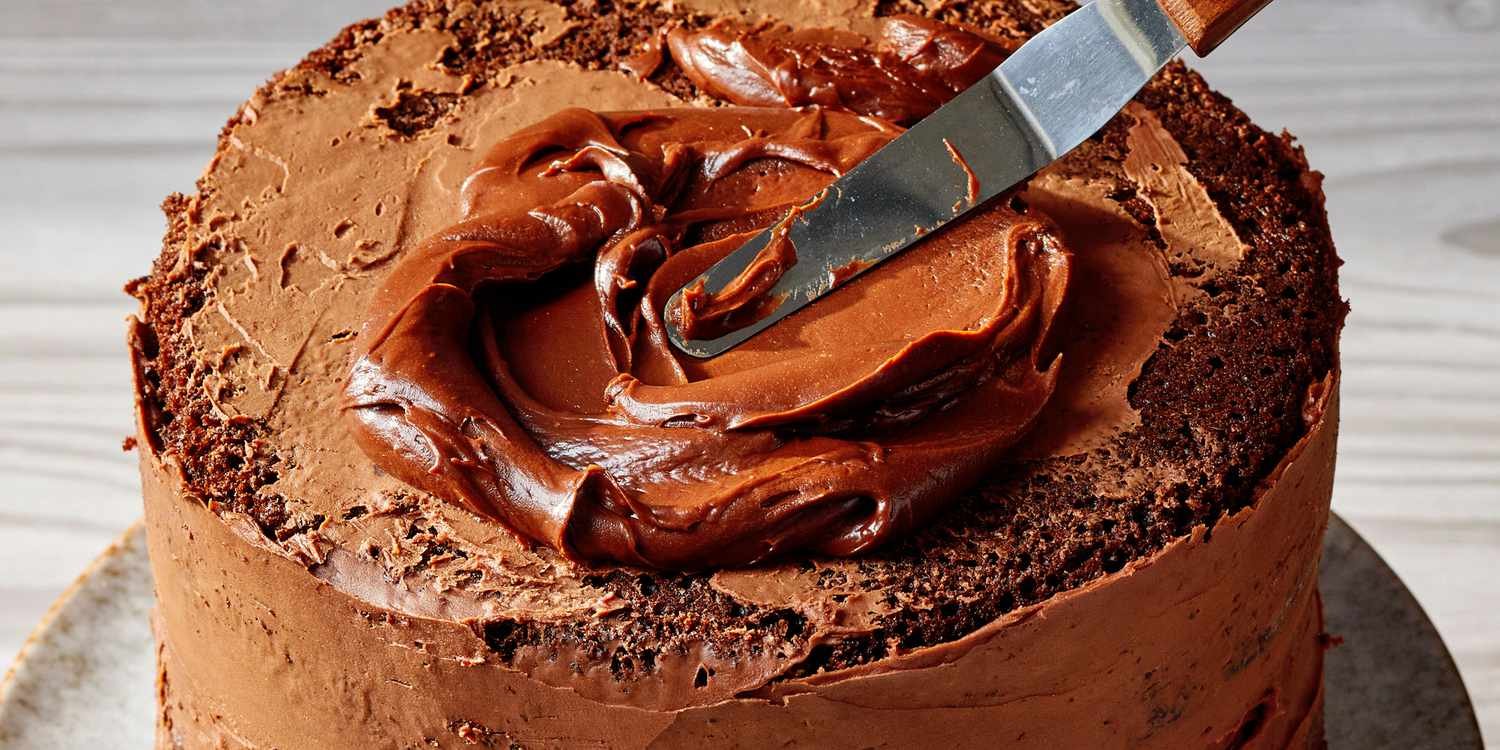
Take a shifted spatula or any glaze for use (s), with which you feel the most comfortable and spread thin A layer of glaze on the sides of the collected cake. You want to spread this primer of the glaze as thin as it is reasonable (ideally, about ⅛ inch), filling out any intervals between layers and other inconsistencies at the surface level as it moves. If the stains of the cake show a thin curtain of glaze, you know that you did it right. As soon as the perimeter is covered with a coating, follow the same procedure to apply a thin layer of glaze to the top of the cake.
Step 5: Relax
This step is perhaps the most important – the time has come to let the feeder with the layer. Place the assembled cake with crumbing in the refrigerator for 30 minutes (or until the glaze hardens to the touch).
Step 6: Complete the icing
Now The fact that you effectively sealed free crumbs and created a smooth working surface, you can apply your final, thicker layer of glaze, as well as any decorative strokes. If this is your first time you used a tiny coat, you will probably be pleasantly surprised at how easy it is and satisfy this last step; enjoy it. And pat on the back for the fact that they worked smarter, and not more complicated.